7-step Guide for "Vibe Coding" New Features in your Projects
Alexander Galea
March 27, 2025
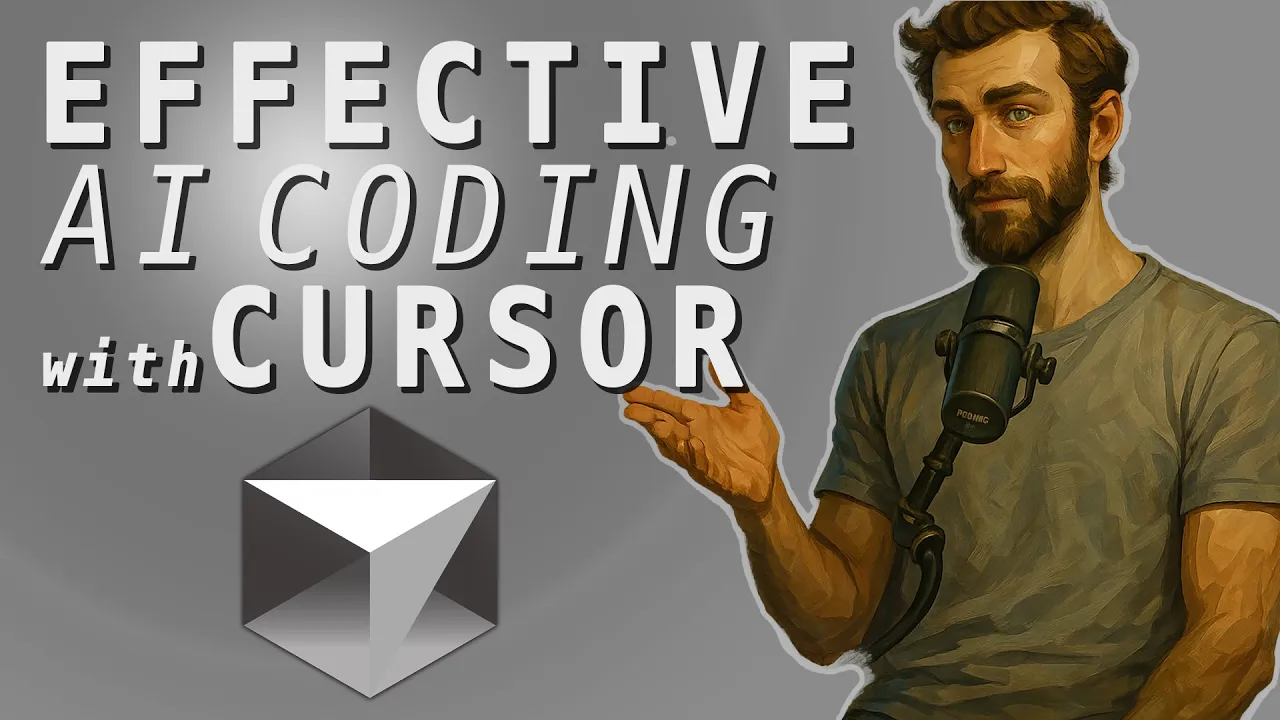
I've been thinking about a framework for how to use Cursor when building features into existing projects. So I came up with a 7-step process. I also made a **video demo** where I use this process with Cursor to build out a **blog for my actual website**. > In fact, if you're reading this on zazencodes.com then you're using the feature I built out while filming this video. 🤯 <iframe width="800" height="450" src="https://www.youtube.com/embed/4fZrO0DIIRc" frameborder="0" allowfullscreen></iframe> ### 🎥 Watch the Video https://youtu.be/4fZrO0DIIRc ## The 7-step process ### **🧠 STEP 1: Get Clear on the Spec First** Before prompting anything, write a super clear description of the feature you're trying to build. Not vague ideas—actual implementation-level details. > Example: "Build a blog feature that pulls Markdown files from `/posts` and renders them with URL slugs." ### **📦 STEP 2: Commit Your Current State** Commit everything first so you can track changes and roll back easily. Ideally, start a new feature branch. Version control is a no-brainer. It allows you to checkpoint and track what's going on in your project. ### **🔍 STEP 3: Understand the Codebase (Don't Just Prompt Blindly)** Ask AI to *explain* key parts of the codebase before asking it to generate anything. After this step, you should know things like: - What files you expect to change. - What functions you expect to be created or modified. - What folders you want to put new files in. - What frameworks and dependencies your project has. ### **🧾 STEP 4: Write a Prompt Like You'd Write a Good GitHub Issue** Be clear, scoped, and include the relevant files or components. > Don't just say "add a blog." > > Say: "Add a blog that loads Markdown files from `/posts`, uses `MarkdownRenderer.tsx`, and links to `/blog/[slug]`. ### **👀 STEP 5: Watch What the AI** ***Actually*** **Changes** Check for changes you *didn't ask for*, and make sure the logic tracks. Cursor and similar tools will edit multiple files at once. This is great! Unless it's off doing the wrong stuff, in the wrong places. ### **🧪 STEP 6: Test Early and Often** Run the app after every big change. Feed errors back into your next prompt. This one is pretty obvious --- and well in line with the general vibe coding ethos. Your goal is to ensure the task was done properly before moving on. Avoid building on badly-generated AI code. ### **🔁 STEP 7: Don't Be Afraid to Throw It Out and Try Again** If the prompt results are a mess, scrap it and retry. AI isn't deterministic --- retrying might get you a cleaner result. But ideally you want to iterate on the original prompt. Try the same prompt with a slight modification in the right direction, like adding some missing guidance or information. AI code is much less valuable than human code. Toss it and try again. ## Conclusion Those are my 7-steps for vibe coding on existing projects. It's a framework that's been serving me well. But there's still a lot about AI-assisted coding that we need to figure out. For example... ### Balancing specificity The best results --- in terms of both productivity gains *and* actual outputs --- ultimately come down to a balancing act. - On one end of the spectrum I'm **too vague** and the model doesn't give me what I need. - On the other end I'm **too specific** and it boxes the model in, or it misses key steps (i.e. needle in the haystack problem —it's missed the important part due to the noisy part). I believe that **including the right amount of context** in the prompt is key to getting the results we're looking for. It's something that I've been thinking a lot about, and **I'd love to hear your thoughts**. You can hop into the [ZazenCodes discord server](https://discord.gg/e4zVza46CQ) and vibe with me there. > 📌 **My newsletter is for AI Engineers. I only send one email a week when I upload a new video.** > > <iframe src="https://zazencodes.substack.com/embed" width="480" height="320" style="border:1px solid #EEE; background:white;" frameborder="0" scrolling="no"></iframe> > > As a bonus: I'll send you my *Zen Guide for Developers (PDF)* and access to my *2nd Brain Notes (Notion URL)* when you sign up. ### 🚀 Level-up in 2025 If you're serious about AI-powered development, then you'll enjoy my **new AI Engineering course** which is live on [ZazenCodes.com](https://zazencodes.com/courses). It covers: - **AI engineering fundamentals** - **LLM deployment strategies** - **Machine learning essentials** <br> <img width="800" src="/img/ai-engineer-roadmap/ai_engineer_roadmap_big_card.png"> Thanks for reading and happy coding!
I’ve been thinking about a framework for how to use Cursor when building features into existing projects.
So I came up with a 7-step process.
I also made a video demo where I use this process with Cursor to build out a blog for my actual website.
In fact, if you’re reading this on zazencodes.com then you’re using the feature I built out while filming this video. 🤯
🎥 Watch the Video
The 7-step process
🧠 STEP 1: Get Clear on the Spec First
Before prompting anything, write a super clear description of the feature you’re trying to build.
Not vague ideas—actual implementation-level details.
Example: “Build a blog feature that pulls Markdown files from
/postsand renders them with URL slugs.”
📦 STEP 2: Commit Your Current State
Commit everything first so you can track changes and roll back easily.
Ideally, start a new feature branch.
Version control is a no-brainer. It allows you to checkpoint and track what’s going on in your project.
🔍 STEP 3: Understand the Codebase (Don’t Just Prompt Blindly)
Ask AI to explain key parts of the codebase before asking it to generate anything.
After this step, you should know things like:
- What files you expect to change.
- What functions you expect to be created or modified.
- What folders you want to put new files in.
- What frameworks and dependencies your project has.
🧾 STEP 4: Write a Prompt Like You’d Write a Good GitHub Issue
Be clear, scoped, and include the relevant files or components.
Don’t just say “add a blog.”
Say: "Add a blog that loads Markdown files from
/posts, usesMarkdownRenderer.tsx, and links to/blog/[slug].
👀 STEP 5: Watch What the AI Actually Changes
Check for changes you didn’t ask for, and make sure the logic tracks.
Cursor and similar tools will edit multiple files at once. This is great! Unless it’s off doing the wrong stuff, in the wrong places.
🧪 STEP 6: Test Early and Often
Run the app after every big change. Feed errors back into your next prompt.
This one is pretty obvious — and well in line with the general vibe coding ethos.
Your goal is to ensure the task was done properly before moving on. Avoid building on badly-generated AI code.
🔁 STEP 7: Don’t Be Afraid to Throw It Out and Try Again
If the prompt results are a mess, scrap it and retry.
AI isn’t deterministic — retrying might get you a cleaner result. But ideally you want to iterate on the original prompt.
Try the same prompt with a slight modification in the right direction, like adding some missing guidance or information.
AI code is much less valuable than human code. Toss it and try again.
Conclusion
Those are my 7-steps for vibe coding on existing projects. It’s a framework that’s been serving me well.
But there’s still a lot about AI-assisted coding that we need to figure out. For example…
Balancing specificity
The best results — in terms of both productivity gains and actual outputs — ultimately come down to a balancing act.
- On one end of the spectrum I’m too vague and the model doesn’t give me what I need.
- On the other end I’m too specific and it boxes the model in, or it misses key steps (i.e. needle in the haystack problem —it’s missed the important part due to the noisy part).
I believe that including the right amount of context in the prompt is key to getting the results we’re looking for.
It’s something that I’ve been thinking a lot about, and I’d love to hear your thoughts.
You can hop into the ZazenCodes discord server and vibe with me there.
📌 My newsletter is for AI Engineers. I only send one email a week when I upload a new video.
As a bonus: I’ll send you my Zen Guide for Developers (PDF) and access to my 2nd Brain Notes (Notion URL) when you sign up.
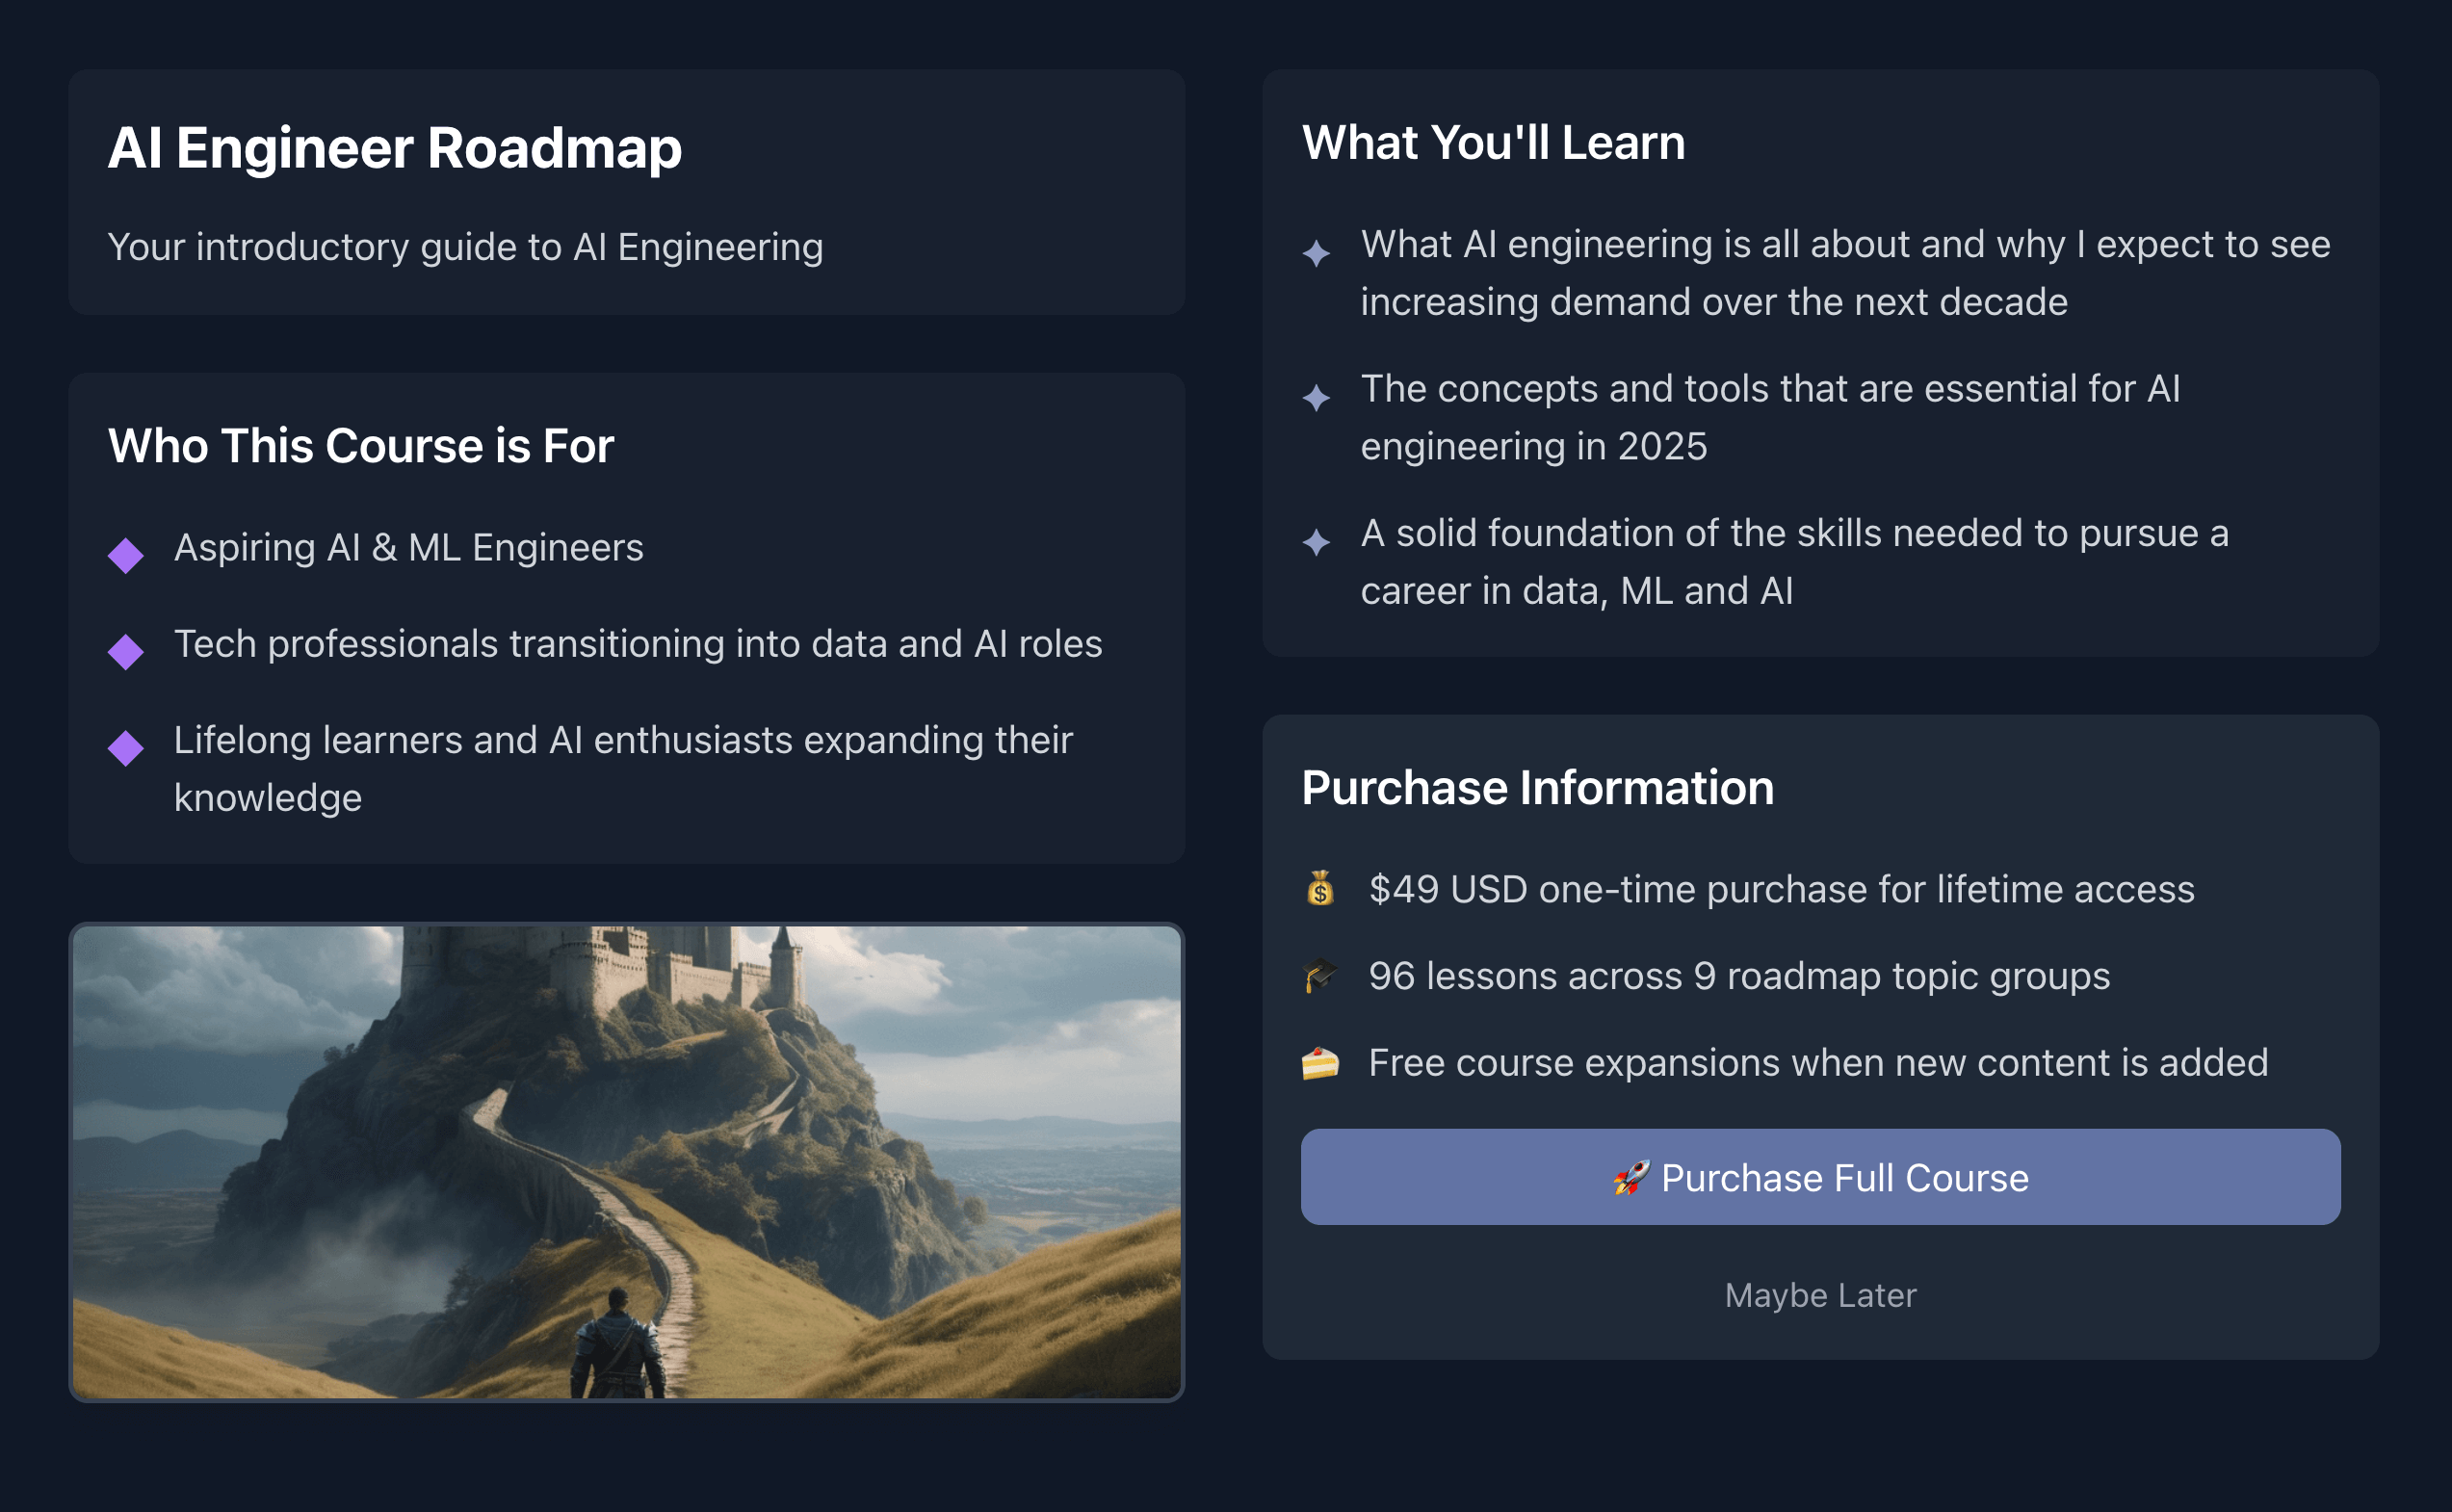
🚀 Level-up in 2025
If you’re serious about AI-powered development, then you’ll enjoy my new AI Engineering course which is live on ZazenCodes.com.
It covers:
- AI engineering fundamentals
- LLM deployment strategies
- Machine learning essentials
Thanks for reading and happy coding!